
Posted by Filipe Gracio, PhD - Customer Engineer

I keep forgetting what I have in the freezer. At first I used Google Sheets to keep track of it, but I wanted something that was easy to consult and update on my smartphone. So I turned to AppSheet! Here’s a tutorial to follow to make a similar tracking solution.
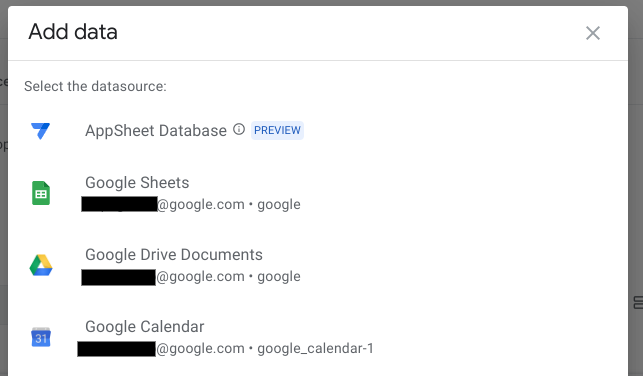
First I created a database that imported my data from the Sheet:
 |
After I selected “Import from Sheets” and selected the sheet I was cumbersomely maintaining, I get the preview of the new database:
 |
Then I can go back and create an App:
|
After I name it I can select the database I just created.
 |
Then
 |
The App now starts getting created, and then I can start customizing it!
I decided I want to actually add more information to the App. For example, I want to categorize my items, so I need another column. I can edit the data for this and I'll add a column “Category”.
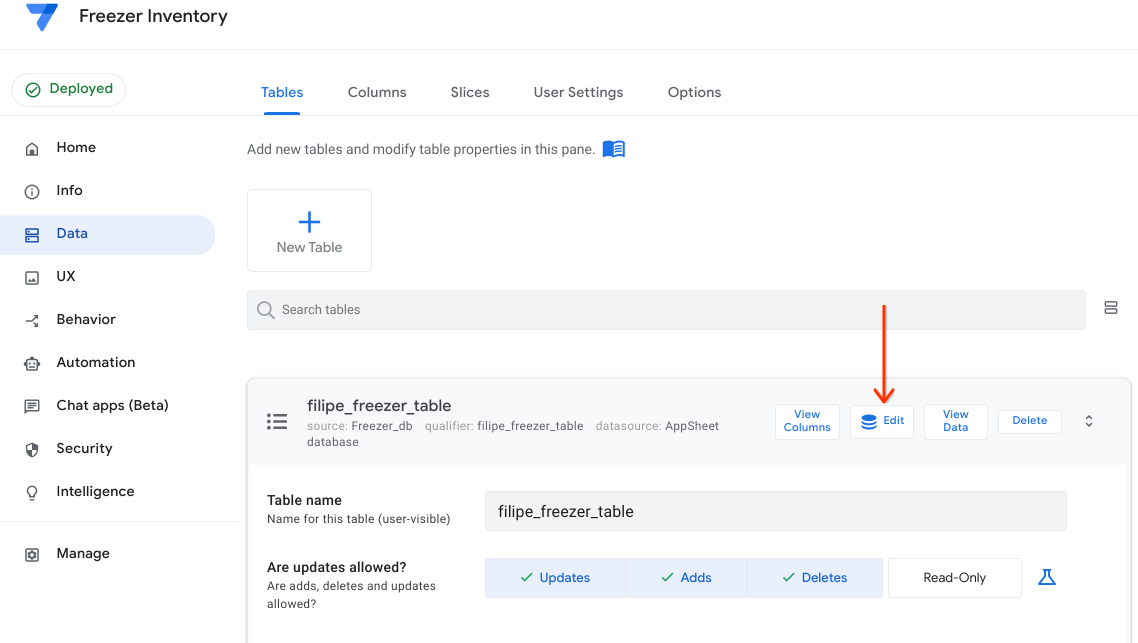 |
After adding the extra column, this is the result:
 |
That’s going to come in handy later for presentation and organization!
Now let's do some configuration about how the items are presented on the actual app. That’s in the UX section of the App builder. I want to select “Table”, Group by “category” and then sort alphabetically by “Item”
 |
After tweaking a few more options in UX “Brand” and “Format Rules”, this is how my app is looks:
 |
Now, I can see what I have in the freezer at all times. If I cook something and have a leftover, I can just add it by clicking the + button. After that, I just need to add in the info:
 |
And of course, if I use something I can just tap on it to edit the amount (or delete it).
This small App is something I use every week now! It is much easier than my old method, plus I learned how to use AppSheet. And this was just a quite simple use case - which only touched the tip of the iceberg of AppSheet’s features. If you work for organizations that have information to share and organize, this technology could be useful for you.
Try it out for yourself: you can use the complete set of AppSheet features at no cost while building one or many app prototypes. You can also invite up to 10 test users at no cost to use your apps and share feedback.
Thank you to my colleague Florian Opitz, Customer Engineer - Google Workspace + Security , for his useful edits and suggestions.
