Posted by the Google Pay Developers team
We want to make it easier for you to develop and test Google Wallet passes so that you can create new, engaging experiences for your customers. Today, you can sign up in the Google Pay & Wallet Console and start using the Google Wallet API immediately in “demo mode.”
When you sign up for a Google Wallet Issuer account for the first time, your account will be in demo mode. Demo mode includes the same features and functionality as publishing mode. However, access to issue Google Wallet passes to users is restricted to any “test users” you add in the console. While in demo mode, any user who is not included in your list of test users will not be able to add a pass you create to their Google Wallet app. By default, all administrators and developers who have access to your Issuer account are already test users. The passes created by issuers in demo mode will contain the text “[TEST ONLY]” in the top of the pass until the issuer is approved to be in publishing mode.
While in demo mode, you can do any of the following:
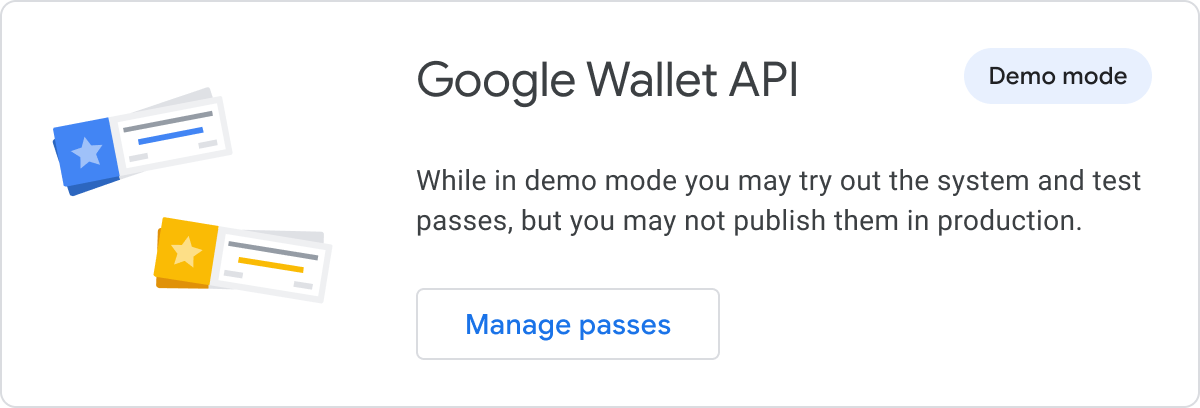
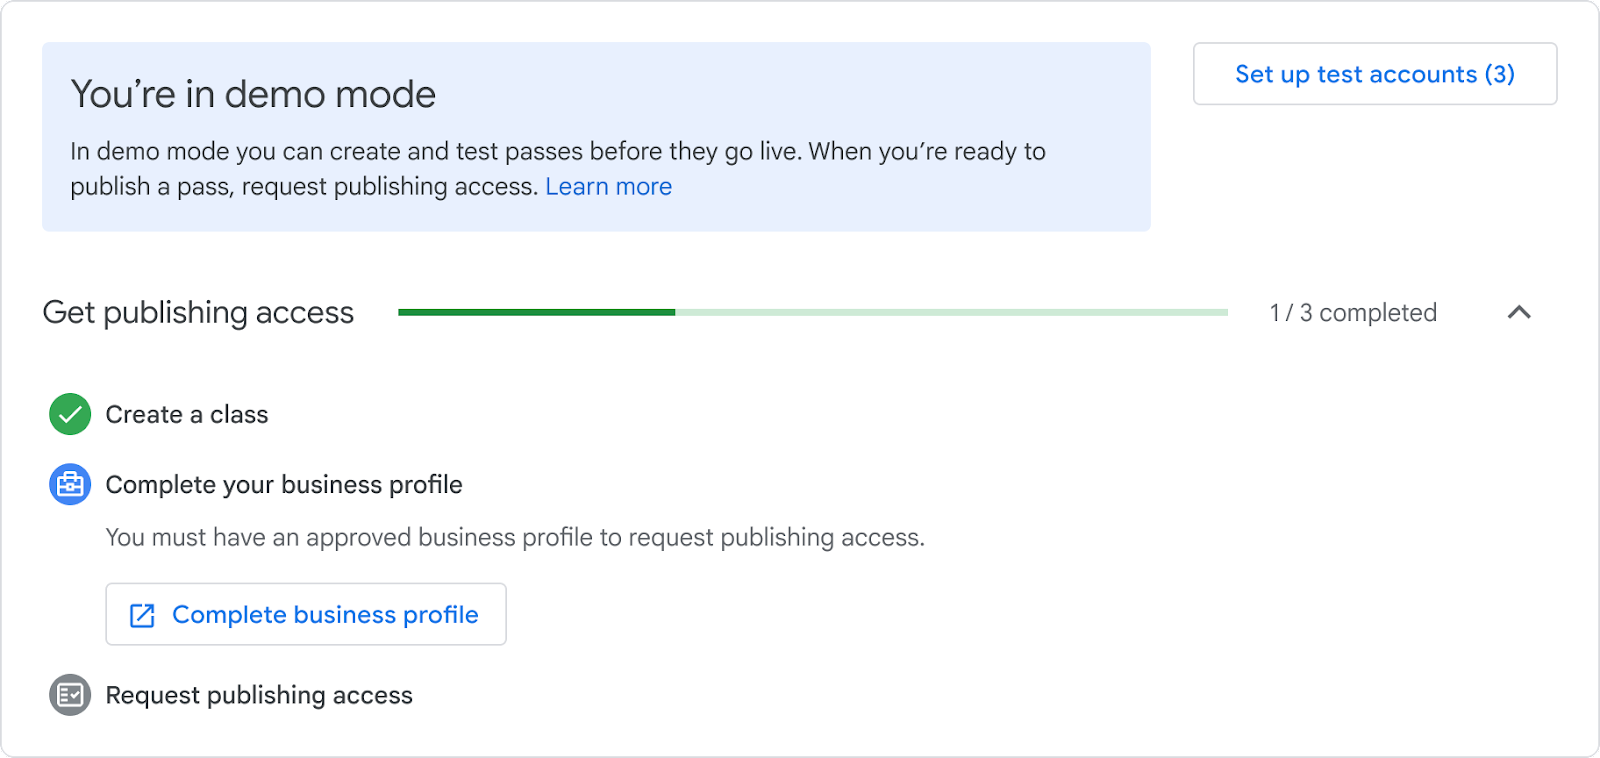
When you are in the Google Pay & Wallet Console, you will see two different indicators that your Issuer account is in demo mode.
 |
| Figure 1 - The Google Wallet API integration card on the console dashboard |
 |
| Figure 2 - The demo mode notice on the Google Wallet API console page |
It’s simple! Just follow the below steps and you’ll have access to your issuer account in demo.
Some additional steps differ depending on whether you use the Android SDK or Web API. Please refer to the Google Wallet Developer Documentation for these other steps. After you’ve completed the steps, you’ll be ready to create your own classes and issue passes to your test users.
If you have an existing account and have requested publishing access by submitting a support request, no changes are required on your end. Your Issuer account is already in publishing mode and this will be reflected in the console.
For new accounts, this will depend on two factors:
To add and/or remove test users without granting them access to your Issuer account, follow the below steps:
 |
| Figure 3 - The test accounts window where you can add test users |
When you’re ready to go to start issuing passes to real users, you will need to complete the following before you are able to request publishing access:
Try creating a Generic pass class and object by following the Web or Android codelabs! In these codelabs, you will have the option to create a new Issuer account and try out demo mode. Follow @GooglePayDevs on Twitter for future updates. If you have questions, tag @GooglePayDevs and include #AskGooglePayDevs in your tweets.