
Update March 13, 2025: Please note this post was published in 2021. The Google Pay plugin for Magento 2 was sunset in 2022.
Learn more about what's new in Google Pay.
Update June 15, 2021: The Google Pay extension v1.1.1 for Magento now supports the Cybersource payment gateway allowing merchants who prefer Cybersource to easily integrate Google Pay into their checkout flow.
Other key updates include support for Magento 2.4 as well as Magento 2.3. Easy to download and install without any coding, Google Pay for Magento provides fast, frictionless checkout and allows consumers to use already-stored payment credentials. This reduces data entry errors and translates to higher conversion rates and larger average order size for merchants.
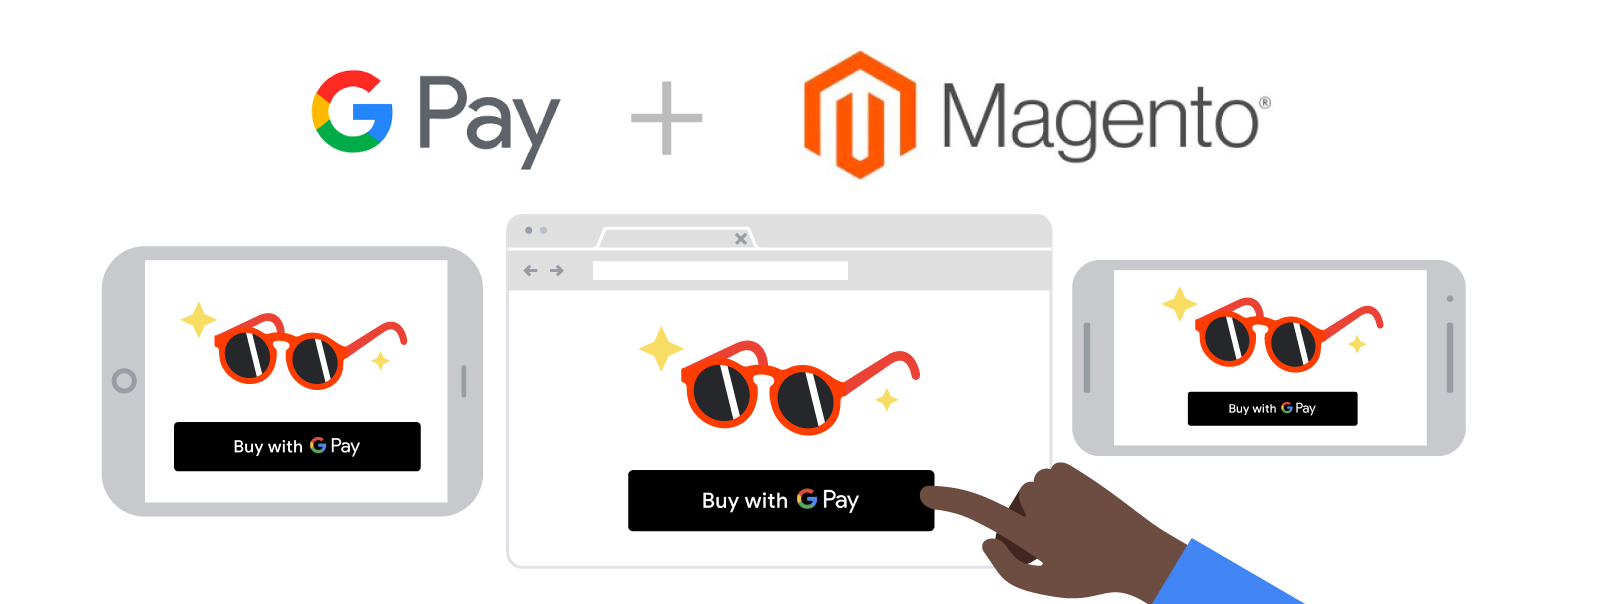
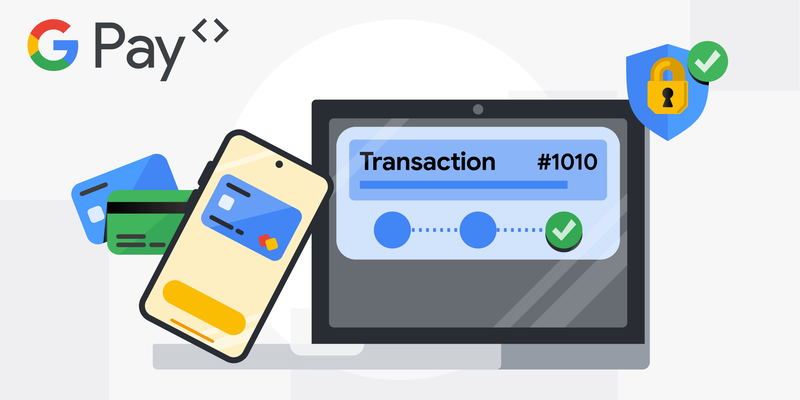
We are pleased to announce the launch of the official Google Pay plugin for Magento 2. The Google Pay plugin can help increase conversions by enabling a simpler and more secure checkout experience in your Magento website. When you integrate with Google Pay, your customers can complete their purchases quickly using the payment methods they’ve securely saved to their Google Accounts.
The Google Pay plugin is built in collaboration with Unbound Commerce, is free to use, and integrates with popular payment service providers including Adyen, BlueSnap, Braintree, FirstData - Payeezy & Ucom, Moneris, Stripe, and Vantiv.
The Google Pay plugin can be installed from the Magento Marketplace using this link or by searching the Magento Marketplace for “Google Pay”.
Refer to the Magento Marketplace User Guide for more installation instructions.
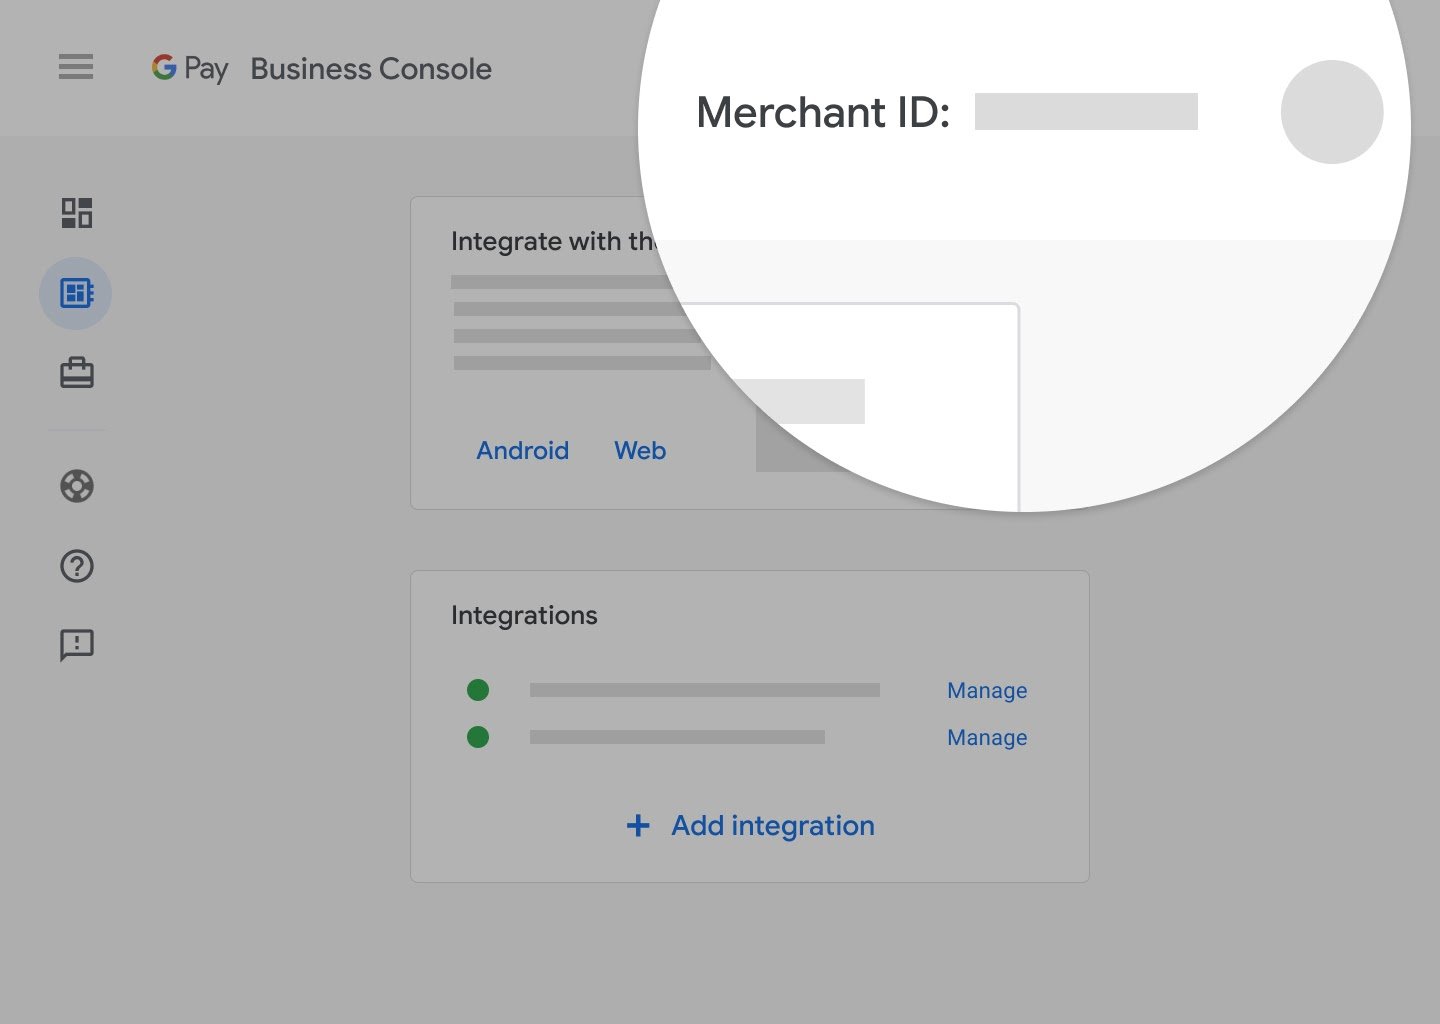
To get started with the Google Pay plugin, you will need your Google Pay merchant identifier which can be found in the Google Pay Business Console.
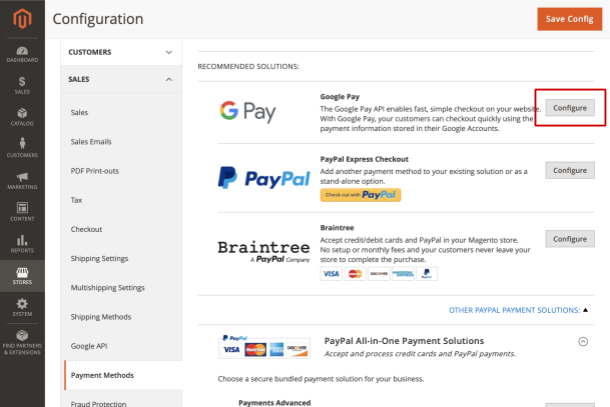
Once installed, you can configure the plugin in your site’s Magento administration console by navigating to Stores > Configuration > Sales > Payment Methods and selecting the Configure button next to Google Pay.
Testing out Google Pay can be achieved in three easy steps:
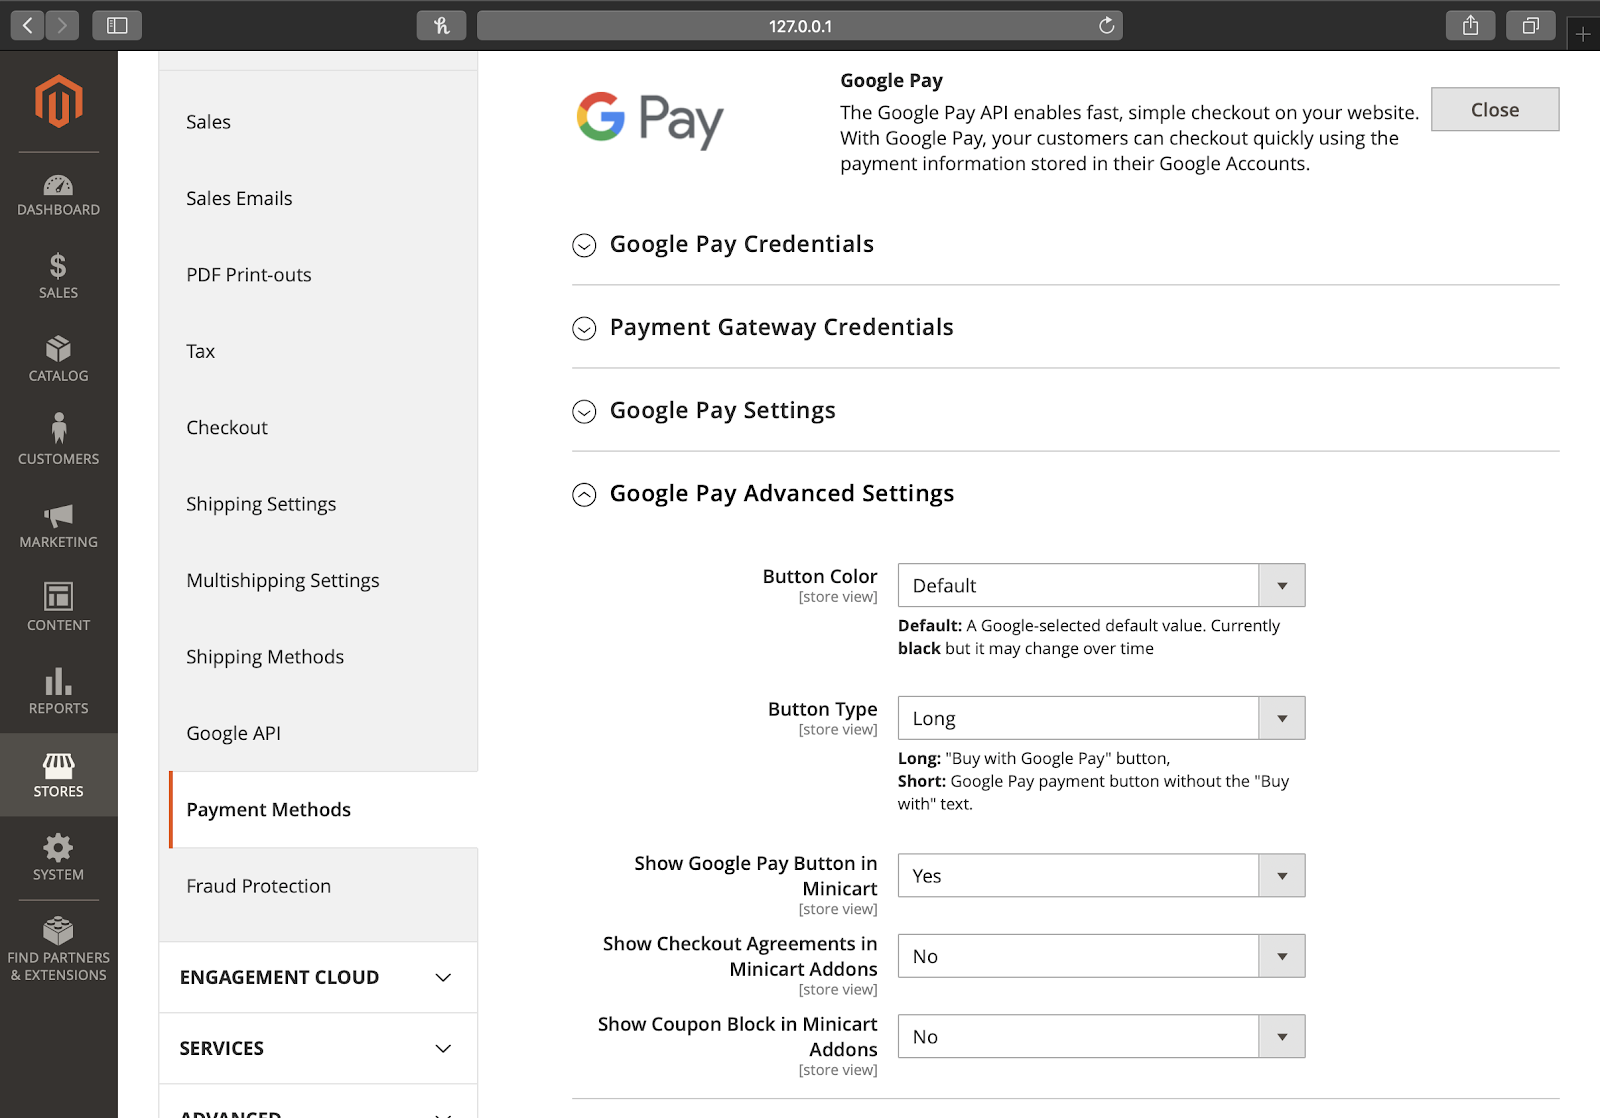
1. Google Pay credentials: enter your Google Pay merchant ID (available from the Google Pay Business Console) and merchant name.
2. Payment gateway credentials: select your payment gateway from the list of payment gateways supported by the Google Pay plugin.
3. Google Pay settings: enable Google Pay and choose the card networks that you would like to accept.
You can optionally try out some of the advanced settings that provide the ability to customize the color and type of Google Pay button as well as enabling Minicart integration, which is recommended.
If your payment provider isn’t listed as an option in the payment gateway list, check to see if your payment provider’s plugin has built-in support for Google Pay.
When you’ve completed your testing, submit your website integration in the Google Pay Business Console. You will need to provide your website’s URL and screenshots to complete the submission.
Integrating Google Pay into your website is a great way to increase conversions and to improve the purchasing experience for your customers.
Find out more about Google Pay and the Google Pay plugin for Magento.
Do you have any questions? Let us know in the comments below or tweet using #AskGooglePayDev.
Want a smoother checkout with Google Pay? Configure your payment options!

What’s new in Google Pay at I/O 2024
Usability and safety updates to Google Auth Platform

How It’s Made: Little Language Lessons uses Gemini’s multilingual capabilities to personalize language learning

The Gemini API and the Internet of Things